Difference between revisions of "Captain's Log (Magazine)"
From Trekipedia
(Created page with "{{BannerSFU|tl|100%}} {{ImageInfoBox2|name=''Captain's Log'' #1|file=sfucl01-cover.jpg|caption=Cover}} {{TableRow|title=Published by|data=Task Force Games}} {{TableRow|tit...") |
m |
||
| (9 intermediate revisions by the same user not shown) | |||
| Line 1: | Line 1: | ||
| − | + | {{ImageInfoBox2|name=''Captain's Log''|file=sfucl01-cover.jpg|caption=Issue #1 Cover}} | |
| − | {{ImageInfoBox2|name=''Captain's Log'' | ||
{{TableRow|title=Published by|data=[[Task Force Games]]}} | {{TableRow|title=Published by|data=[[Task Force Games]]}} | ||
{{TableRow|title=Released|data=[[1983 (Production)|1983]]}} | {{TableRow|title=Released|data=[[1983 (Production)|1983]]}} | ||
{{Ad|DTRPGCL01}} | {{Ad|DTRPGCL01}} | ||
|}</div> | |}</div> | ||
| − | ==Issue 1== | + | {{BannerSFU}} |
| − | === | + | {{ImgLink2|file=sfucl01-cover.jpg|width=19%|link=Captain's Log Issue 1 (Magazine)|caption=''Captain's Log'' #1}} |
| − | + | {{ImgLink2|file=sfucl02-cover.jpg|width=19%|link=Captain's Log Issue 2 (Magazine)|caption=''Captain's Log'' #2}} | |
| + | {{ImgLink2|file=sfucl03-cover.jpg|width=19%|link=Captain's Log Issue 3 (Magazine)|caption=''Captain's Log'' #3}} | ||
{{Clear|value=left}} | {{Clear|value=left}} | ||
| − | === | + | {{ImgLink2|file=sfucl04-cover.jpg|width=19%|link=Captain's Log Issue 4 (Magazine)|caption=''Captain's Log'' #4}} |
| − | + | {{ImgLink2|file=sfucl05-cover.jpg|width=19%|link=Captain's Log Issue 5 (Magazine)|caption=''Captain's Log'' #5}} | |
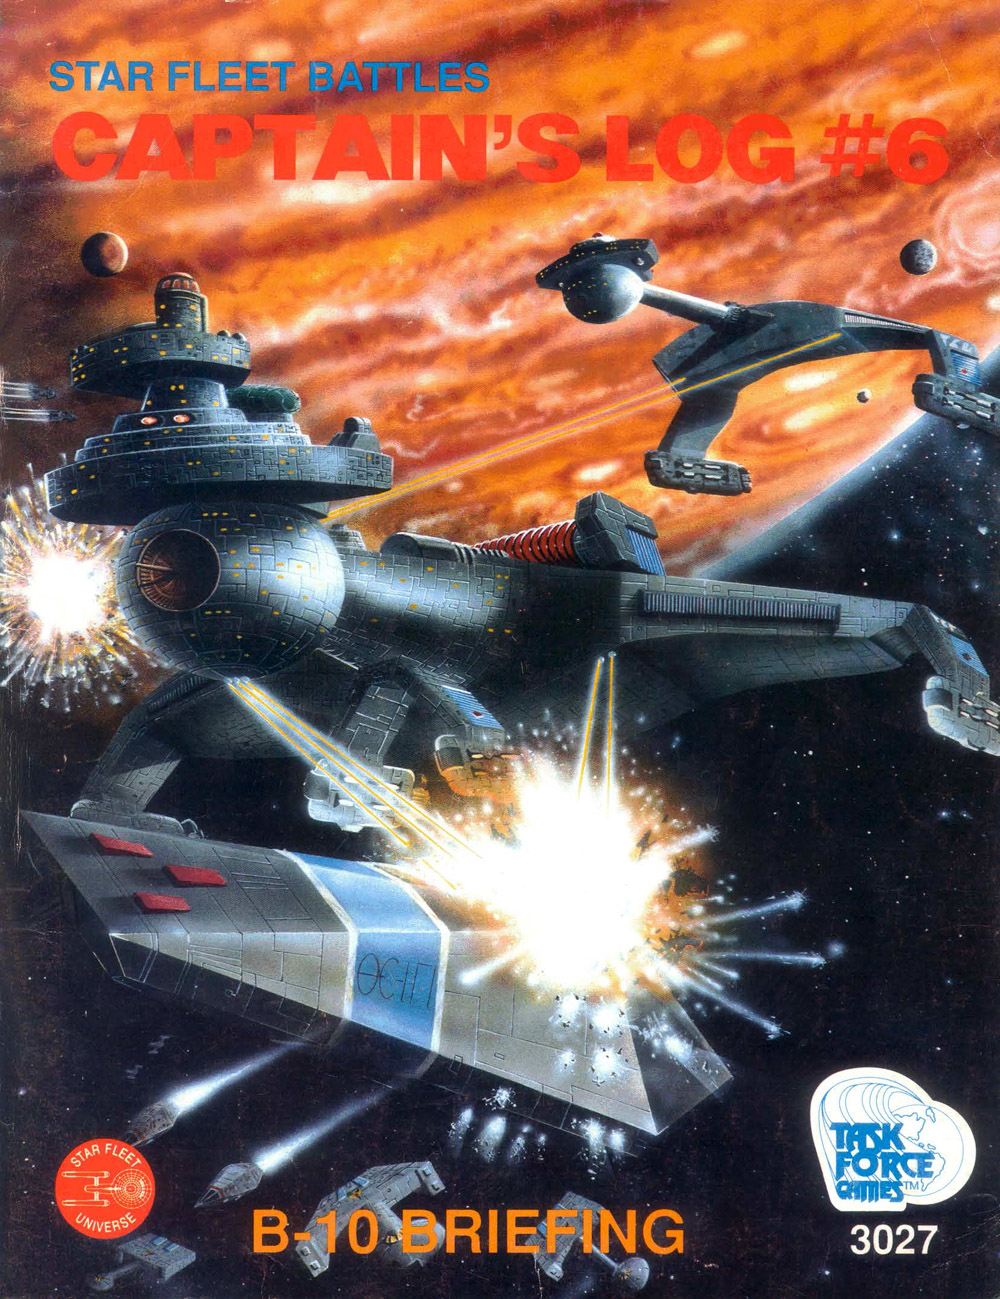
| − | + | {{ImgLink2|file=sfucl06-cover.jpg|width=19%|link=Captain's Log Issue 6 (Magazine)|caption=''Captain's Log'' #6}} | |
| − | + | {{Clear|value=left}} | |
| + | {{ImgLink2|file=sfucl07-cover.jpg|width=19%|link=Captain's Log Issue 7 (Magazine)|caption=''Captain's Log'' #7}} | ||
| + | {{ImgLink2|file=sfucl08-cover.jpg|width=19%|link=Captain's Log Issue 8 (Magazine)|caption=''Captain's Log'' #8}} | ||
| + | {{ImgLink2|file=sfucl09-cover.jpg|width=19%|link=Captain's Log Issue 9 (Magazine)|caption=''Captain's Log'' #9}} | ||
| + | {{Clear|value=left}} | ||
| + | {{ImgLink2|file=sfucl10-cover.jpg|width=19%|link=Captain's Log Issue 10 (Magazine)|caption=''Captain's Log'' #10}} | ||
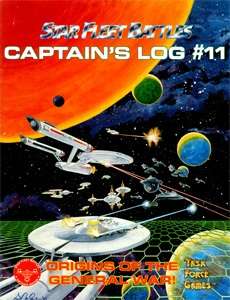
| + | {{ImgLink2|file=sfucl11-cover.jpg|width=19%|link=Captain's Log Issue 11 (Magazine)|caption=''Captain's Log'' #11}} | ||
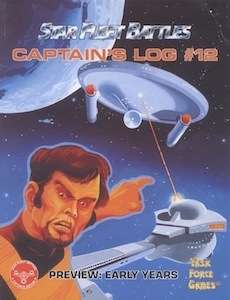
| + | {{ImgLink2|file=sfucl12-cover.jpg|width=19%|link=Captain's Log Issue 12 (Magazine)|caption=''Captain's Log'' #12}} | ||
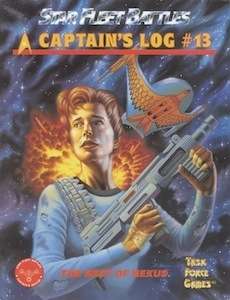
| + | {{ImgLink2|file=sfucl13-cover.jpg|width=19%|link=Captain's Log Issue 13 (Magazine)|caption=''Captain's Log'' #13}} | ||
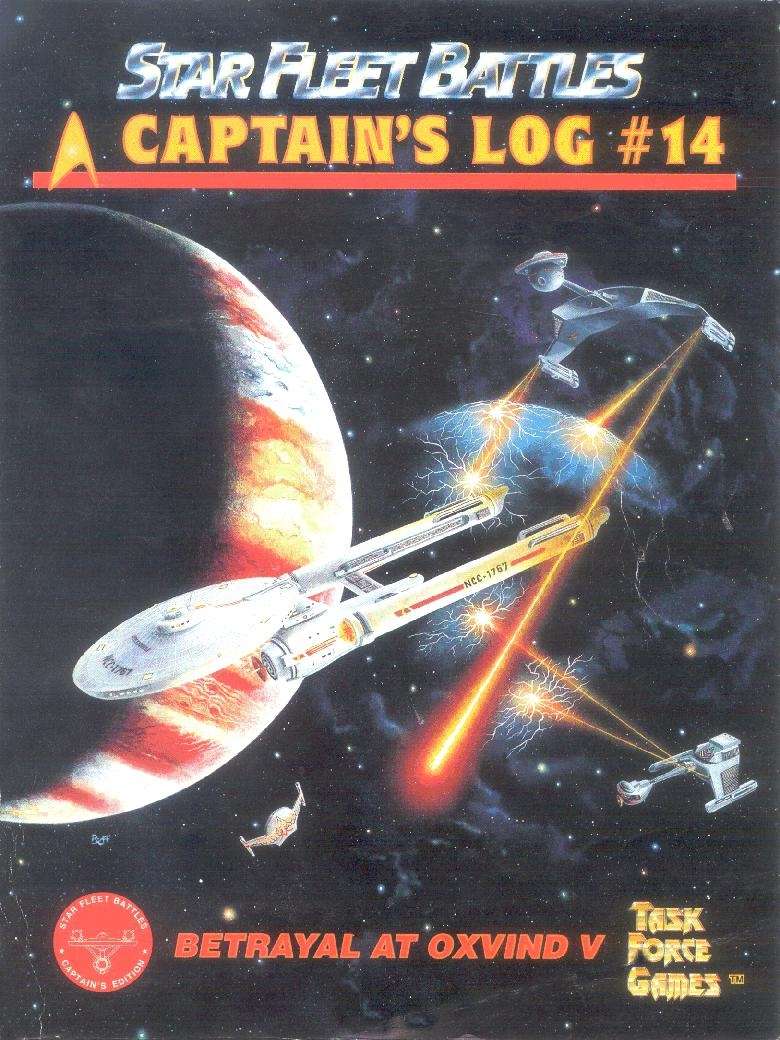
| + | {{ImgLink2|file=sfucl14-cover.jpg|width=19%|link=Captain's Log Issue 14 (Magazine)|caption=''Captain's Log'' #14}} | ||
| + | {{Clear|value=left}} | ||
| + | {{ImgLink2|file=sfucl15-cover.jpg|width=19%|link=Captain's Log Issue 15 (Magazine)|caption=''Captain's Log'' #15}} | ||
| + | {{ImgLink2|file=sfucl16-cover.jpg|width=19%|link=Captain's Log Issue 16 (Magazine)|caption=''Captain's Log'' #16}} | ||
| + | {{ImgLink2|file=sfucl17-cover.jpg|width=19%|link=Captain's Log Issue 17 (Magazine)|caption=''Captain's Log'' #17}} | ||
| + | {{ImgLink2|file=sfucl18-cover.jpg|width=19%|link=Captain's Log Issue 18 (Magazine)|caption=''Captain's Log'' #18}} | ||
| + | {{ImgLink2|file=sfucl19-cover.jpg|width=19%|link=Captain's Log Issue 19 (Magazine)|caption=''Captain's Log'' #19}} | ||
| + | {{Clear|value=left}} | ||
| + | {{ImgLink2|file=sfucl20-cover.jpg|width=19%|link=Captain's Log Issue 20 (Magazine)|caption=''Captain's Log'' #20}} | ||
| + | {{ImgLink2|file=sfucl21-cover.jpg|width=19%|link=Captain's Log Issue 21 (Magazine)|caption=''Captain's Log'' #21}} | ||
| + | {{ImgLink2|file=sfucl22-cover.jpg|width=19%|link=Captain's Log Issue 22 (Magazine)|caption=''Captain's Log'' #22}} | ||
| + | {{ImgLink2|file=sfucl23-cover.jpg|width=19%|link=Captain's Log Issue 23 (Magazine)|caption=''Captain's Log'' #23}} | ||
| + | {{ImgLink2|file=sfucl24-cover.jpg|width=19%|link=Captain's Log Issue 24 (Magazine)|caption=''Captain's Log'' #24}} | ||
| + | {{Clear|value=left}} | ||
| + | {{ImgLink2|file=sfucl25-cover.jpg|width=19%|link=Captain's Log Issue 25 (Magazine)|caption=''Captain's Log'' #25}} | ||
| + | {{ImgLink2|file=sfucl26-cover.jpg|width=19%|link=Captain's Log Issue 26 (Magazine)|caption=''Captain's Log'' #26}} | ||
| + | {{ImgLink2|file=sfucl27-cover.jpg|width=19%|link=Captain's Log Issue 27 (Magazine)|caption=''Captain's Log'' #27}} | ||
| + | {{ImgLink2|file=sfucl28-cover.jpg|width=19%|link=Captain's Log Issue 28 (Magazine)|caption=''Captain's Log'' #28}} | ||
| + | {{ImgLink2|file=sfucl29-cover.jpg|width=19%|link=Captain's Log Issue 29 (Magazine)|caption=''Captain's Log'' #29}} | ||
| + | {{Clear|value=left}} | ||
| + | {{ImgLink2|file=sfucl30-cover.jpg|width=19%|link=Captain's Log Issue 30 (Magazine)|caption=''Captain's Log'' #30}} | ||
| + | {{ImgLink2|file=sfucl31-cover.jpg|width=19%|link=Captain's Log Issue 31 (Magazine)|caption=''Captain's Log'' #31}} | ||
| + | {{ImgLink2|file=sfucl32-cover.jpg|width=19%|link=Captain's Log Issue 32 (Magazine)|caption=''Captain's Log'' #32}} | ||
| + | {{ImgLink2|file=sfucl33-cover.jpg|width=19%|link=Captain's Log Issue 33 (Magazine)|caption=''Captain's Log'' #33}} | ||
| + | {{ImgLink2|file=sfucl34-cover.jpg|width=19%|link=Captain's Log Issue 34 (Magazine)|caption=''Captain's Log'' #34}} | ||
| + | {{Clear|value=left}} | ||
| + | {{ImgLink2|file=sfucl35-cover.jpg|width=19%|link=Captain's Log Issue 35 (Magazine)|caption=''Captain's Log'' #35}} | ||
| + | {{ImgLink2|file=sfucl36-cover.jpg|width=19%|link=Captain's Log Issue 36 (Magazine)|caption=''Captain's Log'' #36}} | ||
| + | {{ImgLink2|file=sfucl37-cover.jpg|width=19%|link=Captain's Log Issue 37 (Magazine)|caption=''Captain's Log'' #37}} | ||
| + | {{ImgLink2|file=sfucl38-cover.jpg|width=19%|link=Captain's Log Issue 38 (Magazine)|caption=''Captain's Log'' #38}} | ||
| + | {{ImgLink2|file=sfucl39-cover.jpg|width=19%|link=Captain's Log Issue 39 (Magazine)|caption=''Captain's Log'' #39}} | ||
| + | {{Clear|value=left}} | ||
| + | {{ImgLink2|file=sfucl40-cover.jpg|width=19%|link=Captain's Log Issue 40 (Magazine)|caption=''Captain's Log'' #40}} | ||
| + | {{ImgLink2|file=sfucl41-cover.jpg|width=19%|link=Captain's Log Issue 41 (Magazine)|caption=''Captain's Log'' #41}} | ||
| + | {{ImgLink2|file=sfucl42-cover.jpg|width=19%|link=Captain's Log Issue 42 (Magazine)|caption=''Captain's Log'' #42}} | ||
| + | {{ImgLink2|file=sfucl43-cover.jpg|width=19%|link=Captain's Log Issue 43 (Magazine)|caption=''Captain's Log'' #43}} | ||
| + | {{ImgLink2|file=sfucl44-cover.jpg|width=19%|link=Captain's Log Issue 44 (Magazine)|caption=''Captain's Log'' #44}} | ||
{{Clear|value=left}} | {{Clear|value=left}} | ||
| − | + | {{ImgLink2|file=sfucl45-cover.jpg|width=19%|link=Captain's Log Issue 45 (Magazine)|caption=''Captain's Log'' #45}} | |
| − | === | + | {{ImgLink2|file=sfucl46-cover.jpg|width=19%|link=Captain's Log Issue 46 (Magazine)|caption=''Captain's Log'' #46}} |
| − | + | {{ImgLink2|file=sfucl47-cover.jpg|width=19%|link=Captain's Log Issue 47 (Magazine)|caption=''Captain's Log'' #47}} | |
| − | + | {{ImgLink2|file=sfucl48-cover.jpg|width=19%|link=Captain's Log Issue 48 (Magazine)|caption=''Captain's Log'' #48}} | |
| − | + | {{ImgLink2|file=sfucl49-cover.jpg|width=19%|link=Captain's Log Issue 49 (Magazine)|caption=''Captain's Log'' #49}} | |
| − | |||
{{Clear|value=left}} | {{Clear|value=left}} | ||
| + | {{ImgLink2|file=sfucl50-cover.jpg|width=19%|link=Captain's Log Issue 50 (Magazine)|caption=''Captain's Log'' #50}} | ||
| + | {{ImgLink2|file=sfucl51-cover.jpg|width=19%|link=Captain's Log Issue 51 (Magazine)|caption=''Captain's Log'' #51}} | ||
| + | {{ImgLink2|file=sfucl52-cover.jpg|width=19%|link=Captain's Log Issue 52 (Magazine)|caption=''Captain's Log'' #52}} | ||
| + | {{ImgLink2|file=sfucl53-cover.jpg|width=19%|link=Captain's Log Issue 53 (Magazine)|caption=''Captain's Log'' #53}} | ||
| + | {{ImgLink2|file=sfucl54-cover.jpg|width=19%|link=Captain's Log Issue 54 (Magazine)|caption=''Captain's Log'' #54}} | ||
| − | + | [[Category:Series]] | |
| − | + | [[Category:SFU Timeline]] | |
| − | |||
| − | |||
| − | |||
| − | |||
| − | |||
Latest revision as of 19:45, 20 March 2023