Difference between revisions of "Star Trek: Enterprise"
From Trekipedia
m |
|||
| (3 intermediate revisions by the same user not shown) | |||
| Line 6: | Line 6: | ||
==Episodes== | ==Episodes== | ||
===Season 1=== | ===Season 1=== | ||
| − | {{ImgLink2|width=23%|file= | + | {{ImgLink2|width=23%|file=ent01-02.jpg|link=Broken Bow (Episode)|caption=01-02: Broken Bow}} |
| − | {{ImgLink2|width=23%|file= | + | {{ImgLink2|width=23%|file=ent03.jpg|link=Fight or Flight (Episode)|caption=03: Fight or Flight}} |
| − | {{ImgLink2|width=23%|file= | + | {{ImgLink2|width=23%|file=ent04.jpg|link=Strange New World (Episode)|caption=04: Strange New World}} |
| − | {{ImgLink2|width=23%|file= | + | {{ImgLink2|width=23%|file=ent05.jpg|link=Unexpected (Episode)|caption=05: Unexpected}} |
{{Clear}} | {{Clear}} | ||
| − | {{ImgLink2|width=23%|file= | + | {{ImgLink2|width=23%|file=ent06.jpg|link=Terra Nova (Episode)|caption=06: Terra Nova}} |
| − | {{ImgLink2|width=23%|file= | + | {{ImgLink2|width=23%|file=ent07.jpg|link=The Andorian Incident (Episode)|caption=07: The Andorian Incident}} |
| − | {{ImgLink2|width=23%|file= | + | {{ImgLink2|width=23%|file=ent08.jpg|link=Breaking the Ice (Episode)|caption=08: Breaking the Ice}} |
| − | {{ImgLink2|width=23%|file= | + | {{ImgLink2|width=23%|file=ent09.jpg|link=Civilization (Episode)|caption=09: Civilization}} |
{{Clear}} | {{Clear}} | ||
| − | {{ImgLink2|width=23%|file= | + | {{ImgLink2|width=23%|file=ent10.jpg|link=Fortunate Son (Episode)|caption=10: Fortunate Son}} |
| − | {{ImgLink2|width=23%|file= | + | {{ImgLink2|width=23%|file=ent11.jpg|link=Cold Front (Episode)|caption=11: Cold Front}} |
| − | {{ImgLink2|width=23%|file= | + | {{ImgLink2|width=23%|file=ent12.jpg|link=Silent Enemy (Episode)|caption=12: Silent Enemy}} |
| − | {{ImgLink2|width=23%|file= | + | {{ImgLink2|width=23%|file=ent13.jpg|link=Dear Doctor (Episode)|caption=13: Dear Doctor}} |
{{Clear}} | {{Clear}} | ||
| − | {{ImgLink2|width=23%|file= | + | {{ImgLink2|width=23%|file=ent14.jpg|link=Shadows of P'Jem (Episode)|caption=14: Shadows of P'Jem}} |
| − | {{ImgLink2|width=23%|file= | + | {{ImgLink2|width=23%|file=ent15.jpg|link=Sleeping Dogs (Episode)|caption=15: Sleeping Dogs}} |
| − | {{ImgLink2|width=23%|file= | + | {{ImgLink2|width=23%|file=ent16.jpg|link=Shuttlepod One (Episode)|caption=16: Shuttlepod One}} |
| − | {{ImgLink2|width=23%|file= | + | {{ImgLink2|width=23%|file=ent17.jpg|link=Fusion (Episode)|caption=17: Fusion}} |
{{Clear}} | {{Clear}} | ||
| − | {{ImgLink2|width=23%|file= | + | {{ImgLink2|width=23%|file=ent18.jpg|link=Rogue Planet (Episode)|caption=18: Rogue Planet}} |
| − | {{ImgLink2|width=23%|file= | + | {{ImgLink2|width=23%|file=ent19.jpg|link=Acquisition (Episode)|caption=19: Acquisition}} |
| − | {{ImgLink2|width=23%|file= | + | {{ImgLink2|width=23%|file=ent20.jpg|link=Oasis (Episode)|caption=20: Oasis}} |
| − | {{ImgLink2|width=23%|file= | + | {{ImgLink2|width=23%|file=ent21.jpg|link=Detained (Episode)|caption=21: Detained}} |
{{Clear}} | {{Clear}} | ||
| − | {{ImgLink2|width=23%|file= | + | {{ImgLink2|width=23%|file=ent22.jpg|link=Vox Sola (Episode)|caption=22: Vox Sola}} |
| − | {{ImgLink2|width=23%|file= | + | {{ImgLink2|width=23%|file=ent23.jpg|link=Fallen Hero (Episode)|caption=23: Fallen Hero}} |
| − | {{ImgLink2|width=23%|file= | + | {{ImgLink2|width=23%|file=ent24.jpg|link=Desert Crossing (Episode)|caption=24: Desert Crossing}} |
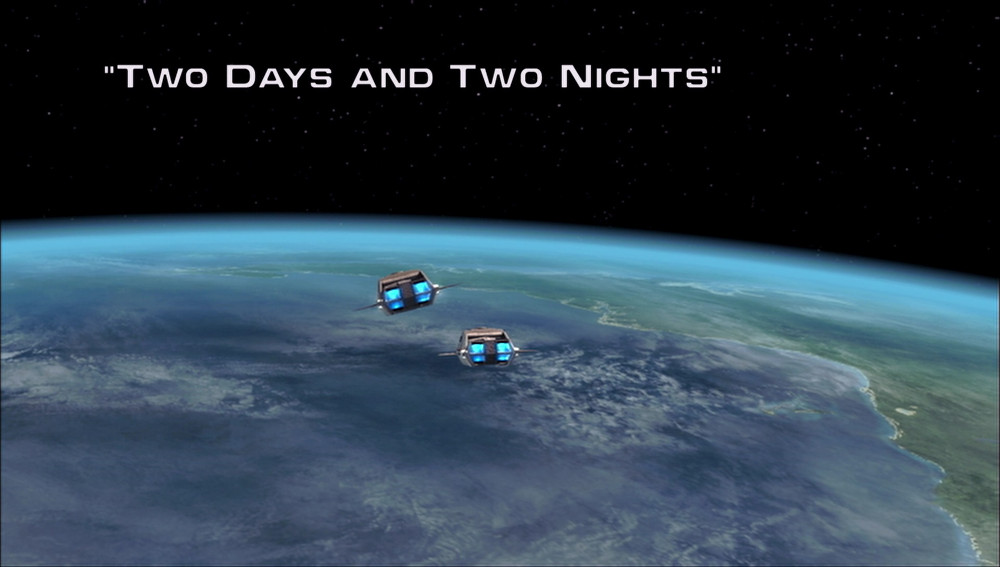
| − | {{ImgLink2|width=23%|file= | + | {{ImgLink2|width=23%|file=ent25.jpg|link=Two Days and Two Nights (Episode)|caption=25: Two Days and Two Nights}} |
{{Clear}} | {{Clear}} | ||
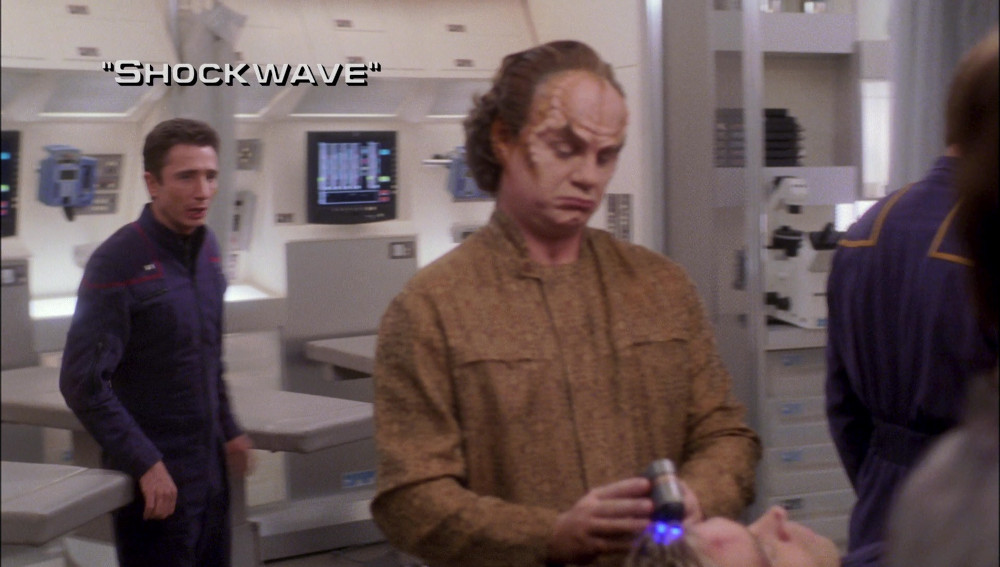
| − | {{ImgLink2|width=23%|file= | + | {{ImgLink2|width=23%|file=ent26.jpg|link=Shockwave (Episode)|caption=26: Shockwave}} |
{{Clear}} | {{Clear}} | ||
| + | |||
===Season 2=== | ===Season 2=== | ||
| − | {{ImgLink2|width=23%|file= | + | {{ImgLink2|width=23%|file=ent27.jpg|link=Shockwave, Part II (Episode)|caption=27: Shockwave, Part II}} |
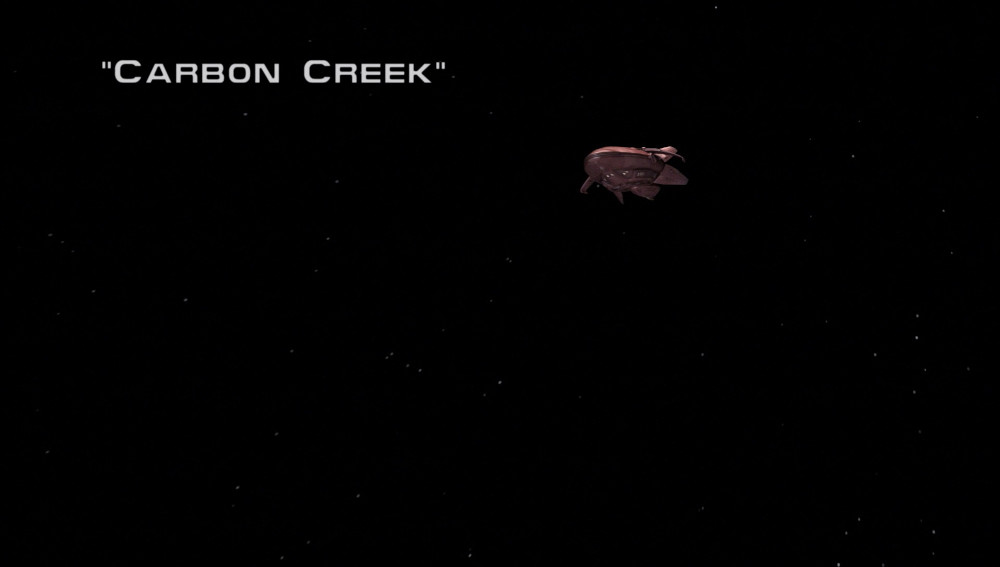
| − | {{ImgLink2|width=23%|file= | + | {{ImgLink2|width=23%|file=ent28.jpg|link=Carbon Creek (Episode)|caption=28: Carbon Creek}} |
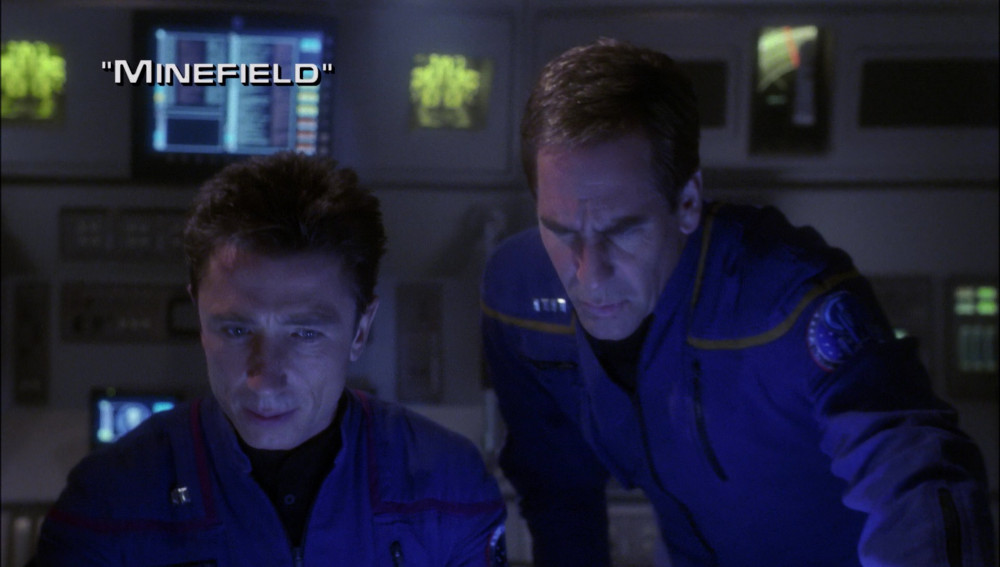
| − | {{ImgLink2|width=23%|file= | + | {{ImgLink2|width=23%|file=ent29.jpg|link=Minefield (Episode)|caption=29: Minefield}} |
| − | {{ImgLink2|width=23%|file= | + | {{ImgLink2|width=23%|file=ent30.jpg|link=A Night in Sickbay (Episode)|caption=30: A Night in Sickbay}} |
{{Clear}} | {{Clear}} | ||
| − | {{ImgLink2|width=23%|file= | + | {{ImgLink2|width=23%|file=ent31.jpg|link=Dead Stop (Episode)|caption=31: Dead Stop}} |
| − | {{ImgLink2|width=23%|file= | + | {{ImgLink2|width=23%|file=ent32.jpg|link=Marauders (Episode)|caption=32: Marauders}} |
| − | {{ImgLink2|width=23%|file= | + | {{ImgLink2|width=23%|file=ent33.jpg|link=The Seventh (Episode)|caption=33: The Seventh}} |
| − | {{ImgLink2|width=23%|file= | + | {{ImgLink2|width=23%|file=ent34.jpg|link=The Communicator (Episode)|caption=34: The Communicator}} |
{{Clear}} | {{Clear}} | ||
| − | {{ImgLink2|width=23%|file= | + | {{ImgLink2|width=23%|file=ent35.jpg|link=Singularity (Episode)|caption=35: Singularity}} |
| − | {{ImgLink2|width=23%|file= | + | {{ImgLink2|width=23%|file=ent36.jpg|link=Vanishing Point (Episode)|caption=36: Vanishing Point}} |
| − | {{ImgLink2|width=23%|file= | + | {{ImgLink2|width=23%|file=ent37.jpg|link=Precious Cargo (Episode)|caption=37: Precious Cargo}} |
| − | {{ImgLink2|width=23%|file= | + | {{ImgLink2|width=23%|file=ent38.jpg|link=The Catwalk (Episode)|caption=38: The Catwalk}} |
{{Clear}} | {{Clear}} | ||
| − | {{ImgLink2|width=23%|file= | + | {{ImgLink2|width=23%|file=ent39.jpg|link=Dawn (Episode)|caption=39: Dawn}} |
| − | {{ImgLink2|width=23%|file= | + | {{ImgLink2|width=23%|file=ent40.jpg|link=Stigma (Episode)|caption=40: Stigma}} |
| − | {{ImgLink2|width=23%|file= | + | {{ImgLink2|width=23%|file=ent41.jpg|link=Cease Fire (Episode)|caption=41: Cease Fire}} |
| − | {{ImgLink2|width=23%|file= | + | {{ImgLink2|width=23%|file=ent42.jpg|link=Future Tense (Episode)|caption=42: Future Tense}} |
{{Clear}} | {{Clear}} | ||
| − | {{ImgLink2|width=23%|file= | + | {{ImgLink2|width=23%|file=ent43.jpg|link=Canamar (Episode)|caption=43: Canamar}} |
| − | {{ImgLink2|width=23%|file= | + | {{ImgLink2|width=23%|file=ent44.jpg|link=The Crossing (Episode)|caption=44: The Crossing}} |
| − | {{ImgLink2|width=23%|file= | + | {{ImgLink2|width=23%|file=ent45.jpg|link=Judgment (Episode)|caption=45: Judgment}} |
| − | {{ImgLink2|width=23%|file= | + | {{ImgLink2|width=23%|file=ent46.jpg|link=Horizon (Episode)|caption=46: Horizon}} |
{{Clear}} | {{Clear}} | ||
| − | {{ImgLink2|width=23%|file= | + | {{ImgLink2|width=23%|file=ent47.jpg|link=The Breach (Episode)|caption=47: The Breach}} |
| − | {{ImgLink2|width=23%|file= | + | {{ImgLink2|width=23%|file=ent48.jpg|link=Cogenitor (Episode)|caption=48: Cogenitor}} |
| − | {{ImgLink2|width=23%|file= | + | {{ImgLink2|width=23%|file=ent49.jpg|link=Regeneration (Episode)|caption=49: Regeneration}} |
| − | {{ImgLink2|width=23%|file= | + | {{ImgLink2|width=23%|file=ent50.jpg|link=First Flight (Episode)|caption=50: First Flight}} |
{{Clear}} | {{Clear}} | ||
| − | {{ImgLink2|width=23%|file= | + | {{ImgLink2|width=23%|file=ent51.jpg|link=Bounty (Episode)|caption=51: Bounty}} |
| − | {{ImgLink2|width=23%|file= | + | {{ImgLink2|width=23%|file=ent52.jpg|link=The Expanse (Episode)|caption=52: The Expanse}} |
{{Clear}} | {{Clear}} | ||
| + | |||
===Season 3=== | ===Season 3=== | ||
| − | {{ImgLink2|width=23%|file= | + | {{ImgLink2|width=23%|file=ent53.jpg|link=The Xindi (Episode)|caption=53: The Xindi}} |
| − | {{ImgLink2|width=23%|file= | + | {{ImgLink2|width=23%|file=ent54.jpg|link=Anomaly (ENT Episode)|caption=54: Anomaly}} |
| − | {{ImgLink2|width=23%|file= | + | {{ImgLink2|width=23%|file=ent55.jpg|link=Extinction (Episode)|caption=55: Extinction}} |
| − | {{ImgLink2|width=23%|file= | + | {{ImgLink2|width=23%|file=ent56.jpg|link=Rajiin (Episode)|caption=56: Rajiin}} |
{{Clear}} | {{Clear}} | ||
| − | {{ImgLink2|width=23%|file= | + | {{ImgLink2|width=23%|file=ent57.jpg|link=Impulse (Episode)|caption=57: Impulse}} |
| − | {{ImgLink2|width=23%|file= | + | {{ImgLink2|width=23%|file=ent58.jpg|link=Exile (Episode)|caption=58: Exile}} |
| − | {{ImgLink2|width=23%|file= | + | {{ImgLink2|width=23%|file=ent59.jpg|link=The Shipment (Episode)|caption=59: The Shipment}} |
| − | {{ImgLink2|width=23%|file= | + | {{ImgLink2|width=23%|file=ent60.jpg|link=Twilight (Episode)|caption=60: Twilight}} |
{{Clear}} | {{Clear}} | ||
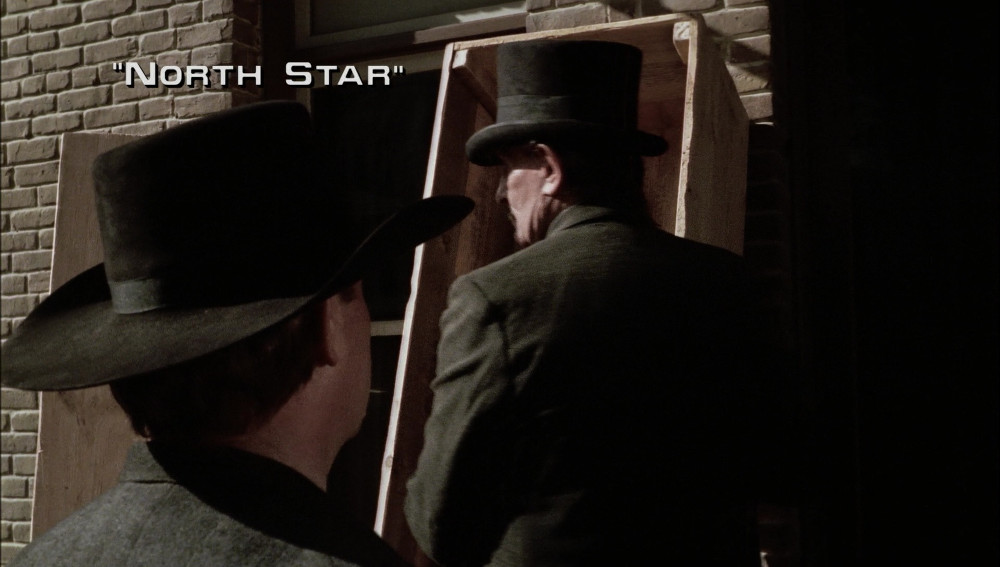
| − | {{ImgLink2|width=23%|file= | + | {{ImgLink2|width=23%|file=ent61.jpg|link=North Star (Episode)|caption=61: North Star}} |
| − | {{ImgLink2|width=23%|file= | + | {{ImgLink2|width=23%|file=ent62.jpg|link=Similitude (Episode)|caption=62: Similitude}} |
| − | {{ImgLink2|width=23%|file= | + | {{ImgLink2|width=23%|file=ent63.jpg|link=Carpenter Street (Episode)|caption=63: Carpenter Street}} |
| − | {{ImgLink2|width=23%|file= | + | {{ImgLink2|width=23%|file=ent64.jpg|link=Chosen Realm (Episode)|caption=64: Chosen Realm}} |
{{Clear}} | {{Clear}} | ||
| − | {{ImgLink2|width=23%|file= | + | {{ImgLink2|width=23%|file=ent65.jpg|link=Proving Ground (Episode)|caption=65: Proving Ground}} |
| − | {{ImgLink2|width=23%|file= | + | {{ImgLink2|width=23%|file=ent66.jpg|link=Stratagem (Episode)|caption=66: Stratagem}} |
| − | {{ImgLink2|width=23%|file= | + | {{ImgLink2|width=23%|file=ent67.jpg|link=Harbinger (Episode)|caption=67: Harbinger}} |
| − | {{ImgLink2|width=23%|file= | + | {{ImgLink2|width=23%|file=ent68.jpg|link=Doctor's Orders (Episode)|caption=68: Doctor's Orders}} |
{{Clear}} | {{Clear}} | ||
| − | {{ImgLink2|width=23%|file= | + | {{ImgLink2|width=23%|file=ent69.jpg|link=Hatchery (Episode)|caption=69: Hatchery}} |
| − | {{ImgLink2|width=23%|file= | + | {{ImgLink2|width=23%|file=ent70.jpg|link=Azati Prime (Episode)|caption=70: Azati Prime}} |
| − | {{ImgLink2|width=23%|file= | + | {{ImgLink2|width=23%|file=ent71.jpg|link=Damage (Episode)|caption=71: Damage}} |
| − | {{ImgLink2|width=23%|file= | + | {{ImgLink2|width=23%|file=ent72.jpg|link=The Forgotten (Episode)|caption=72: The Forgotten}} |
{{Clear}} | {{Clear}} | ||
| − | {{ImgLink2|width=23%|file= | + | {{ImgLink2|width=23%|file=ent73.jpg|link=E Squared (Episode)|caption=73: E²}} |
| − | {{ImgLink2|width=23%|file= | + | {{ImgLink2|width=23%|file=ent74.jpg|link=The Council (Episode)|caption=74: The Council}} |
| − | {{ImgLink2|width=23%|file= | + | {{ImgLink2|width=23%|file=ent75.jpg|link=Countdown (Episode)|caption=75: Countdown}} |
| − | {{ImgLink2|width=23%|file= | + | {{ImgLink2|width=23%|file=ent76.jpg|link=Zero Hour (Episode)|caption=76: Zero Hour}} |
{{Clear}} | {{Clear}} | ||
| + | |||
===Season 4=== | ===Season 4=== | ||
| − | {{ImgLink2|width=23%|file= | + | {{ImgLink2|width=23%|file=ent77.jpg|link=Storm Front (Episode)|caption=77: Storm Front}} |
| − | {{ImgLink2|width=23%|file= | + | {{ImgLink2|width=23%|file=ent78.jpg|link=Storm Front, Part II (Episode)|caption=78: Storm Front, Part II}} |
| − | {{ImgLink2|width=23%|file= | + | {{ImgLink2|width=23%|file=ent79.jpg|link=Home (Episode)|caption=79: Home}} |
| − | {{ImgLink2|width=23%|file= | + | {{ImgLink2|width=23%|file=ent80.jpg|link=Borderland (Episode)|caption=80: Borderland}} |
{{Clear}} | {{Clear}} | ||
| − | {{ImgLink2|width=23%|file= | + | {{ImgLink2|width=23%|file=ent81.jpg|link=Cold Station 12 (Episode)|caption=81: Cold Station 12}} |
| − | {{ImgLink2|width=23%|file= | + | {{ImgLink2|width=23%|file=ent82.jpg|link=The Augments (Episode)|caption=82: The Augments}} |
| − | {{ImgLink2|width=23%|file= | + | {{ImgLink2|width=23%|file=ent83.jpg|link=The Forge (Episode)|caption=83: The Forge}} |
| − | {{ImgLink2|width=23%|file= | + | {{ImgLink2|width=23%|file=ent84.jpg|link=Awakening (Episode)|caption=84: Awakening}} |
{{Clear}} | {{Clear}} | ||
| − | {{ImgLink2|width=23%|file= | + | {{ImgLink2|width=23%|file=ent85.jpg|link=Kir'Shara (Episode)|caption=85: Kir'Shara}} |
| − | {{ImgLink2|width=23%|file= | + | {{ImgLink2|width=23%|file=ent86.jpg|link=Daedalus (Episode)|caption=86: Daedalus}} |
| − | {{ImgLink2|width=23%|file= | + | {{ImgLink2|width=23%|file=ent87.jpg|link=Observer Effect (Episode)|caption=87: Observer Effect}} |
| − | {{ImgLink2|width=23%|file= | + | {{ImgLink2|width=23%|file=ent88.jpg|link=Babel One (Episode)|caption=88:Babel One}} |
{{Clear}} | {{Clear}} | ||
| − | {{ImgLink2|width=23%|file= | + | {{ImgLink2|width=23%|file=ent89.jpg|link=United (Episode)|caption=89: United}} |
| − | {{ImgLink2|width=23%|file= | + | {{ImgLink2|width=23%|file=ent90.jpg|link=The Aenar (Episode)|caption=90: The Aenar}} |
| − | {{ImgLink2|width=23%|file= | + | {{ImgLink2|width=23%|file=ent91.jpg|link=Affliction (Episode)|caption=91: Affliction}} |
| − | {{ImgLink2|width=23%|file= | + | {{ImgLink2|width=23%|file=ent92.jpg|link=Divergence (Episode)|caption=92: Divergence}} |
{{Clear}} | {{Clear}} | ||
| − | {{ImgLink2|width=23%|file= | + | {{ImgLink2|width=23%|file=ent93.jpg|link=Bound (Episode)|caption=93: Bound}} |
| − | {{ImgLink2|width=23%|file= | + | {{ImgLink2|width=23%|file=ent94.jpg|link=In a Mirror, Darkly (Episode)|caption=94: In a Mirror, Darkly}} |
| − | {{ImgLink2|width=23%|file= | + | {{ImgLink2|width=23%|file=ent95.jpg|link=In a Mirror, Darkly, Part II (Episode)|caption=95: In a Mirror, Darkly, Part II}} |
| − | {{ImgLink2|width=23%|file= | + | {{ImgLink2|width=23%|file=ent96.jpg|link=Demons (Episode)|caption=96: Demons}} |
{{Clear}} | {{Clear}} | ||
| − | {{ImgLink2|width=23%|file= | + | {{ImgLink2|width=23%|file=ent97.jpg|link=Terra Prime (Episode)|caption=97: Terra Prime}} |
| − | {{ImgLink2|width=23%|file= | + | {{ImgLink2|width=23%|file=ent98.jpg|link=These Are the Voyages... (Episode)|caption=98: These Are the Voyages...}} |
{{Clear}} | {{Clear}} | ||
Latest revision as of 08:39, 12 February 2025


Episodes
Season 1


Season 2


Season 3


Season 4


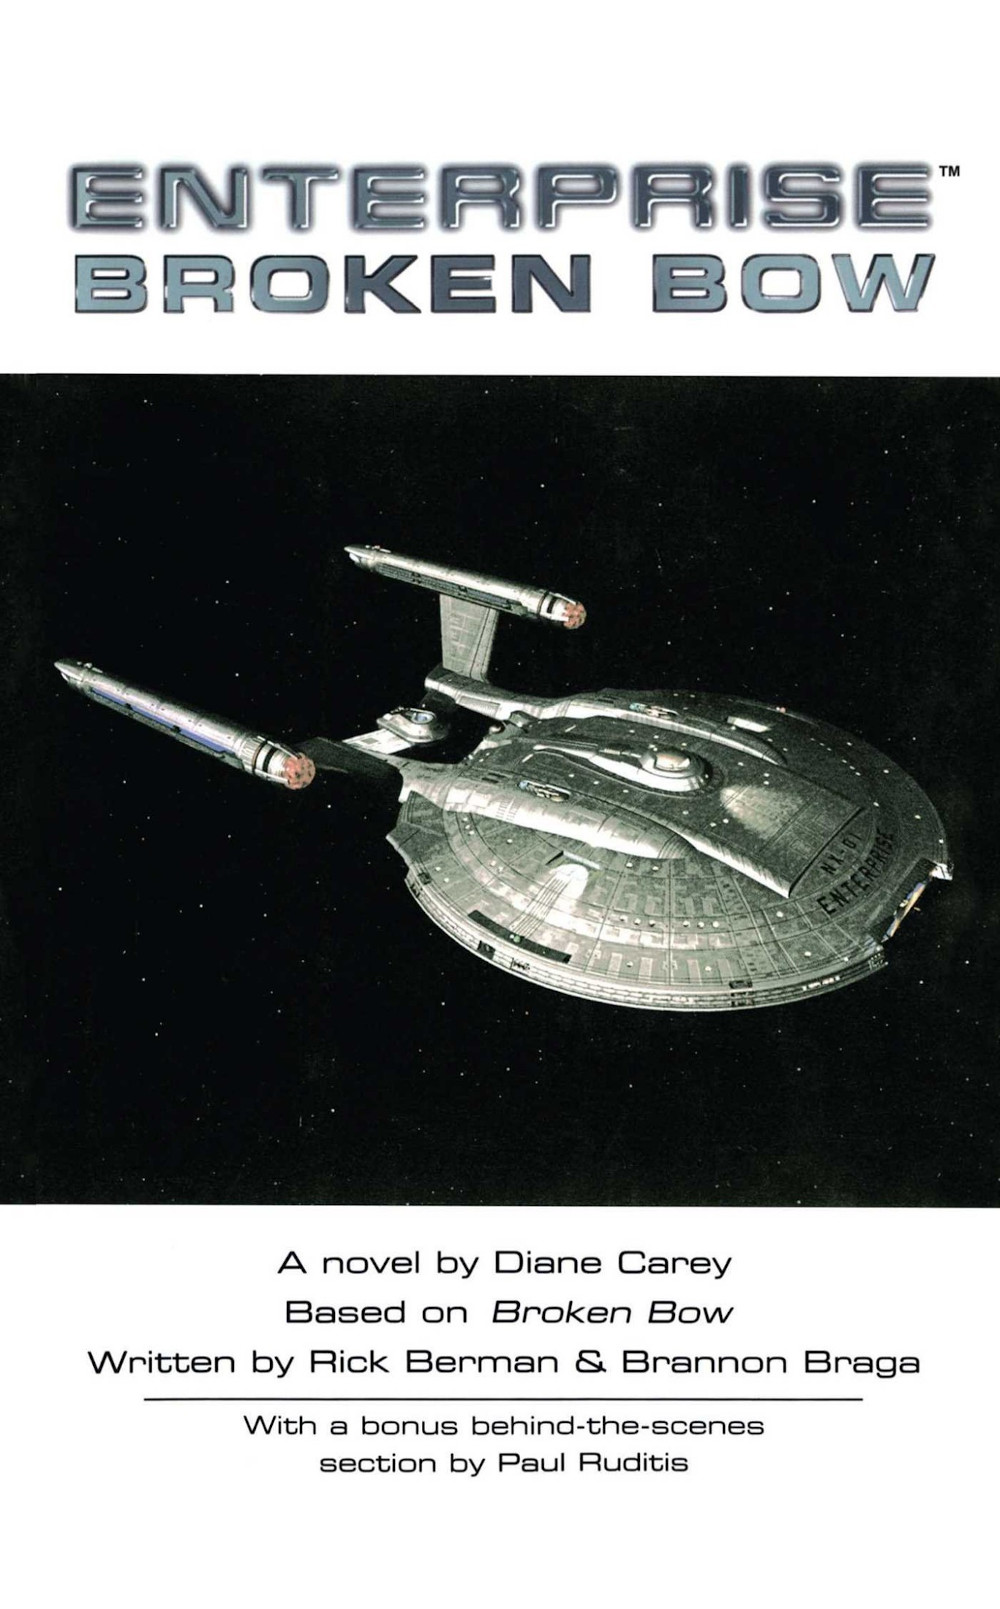
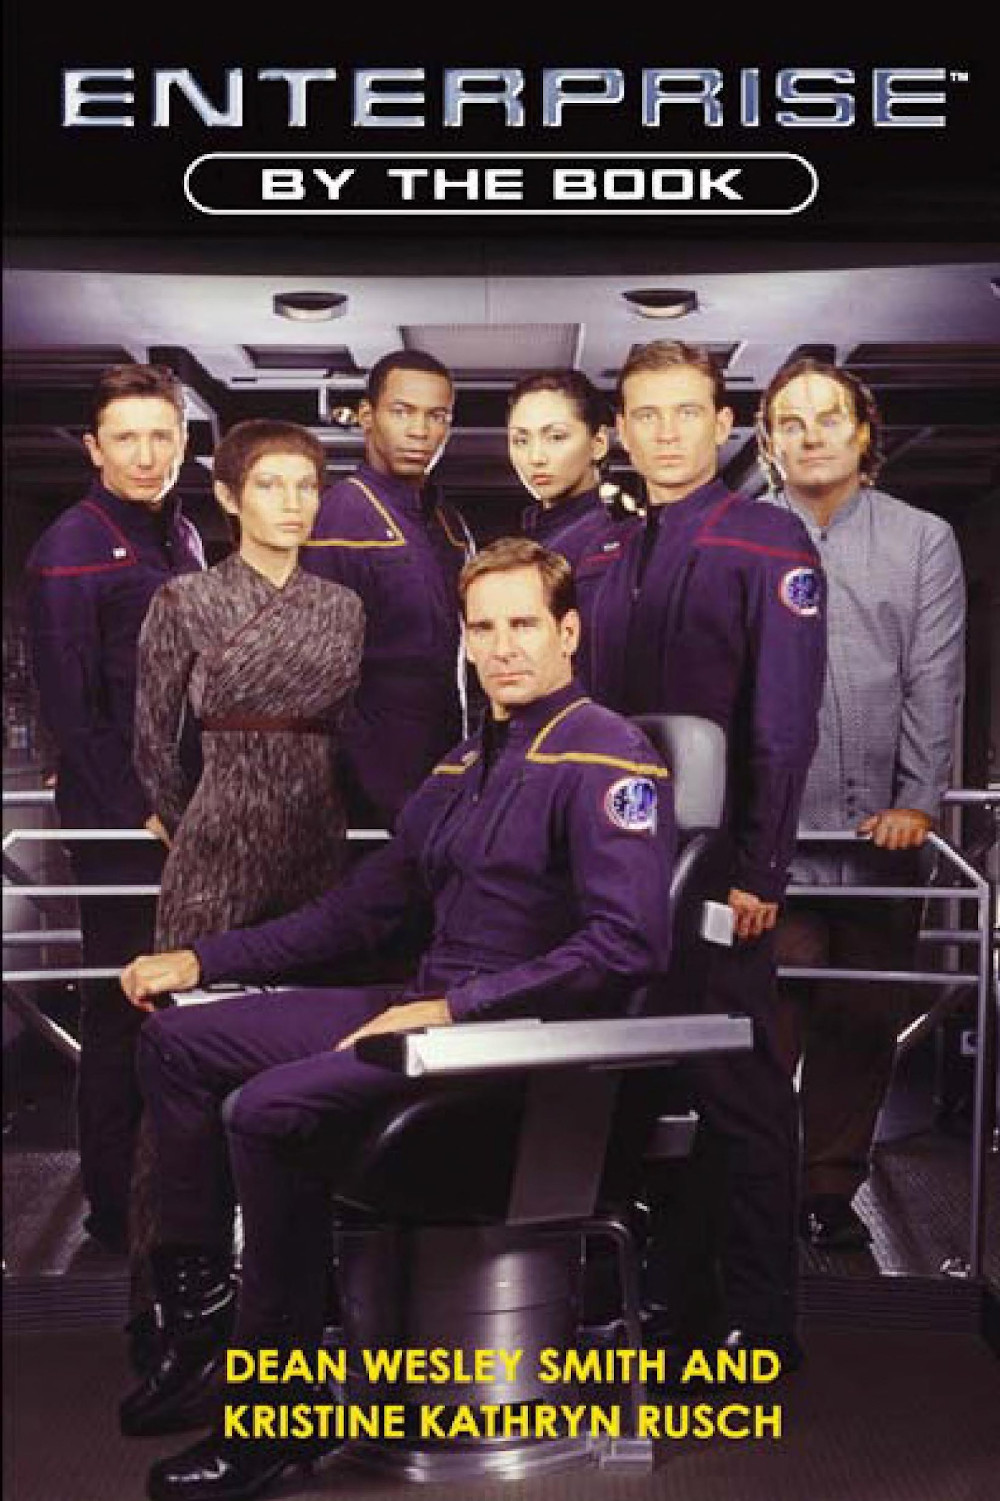
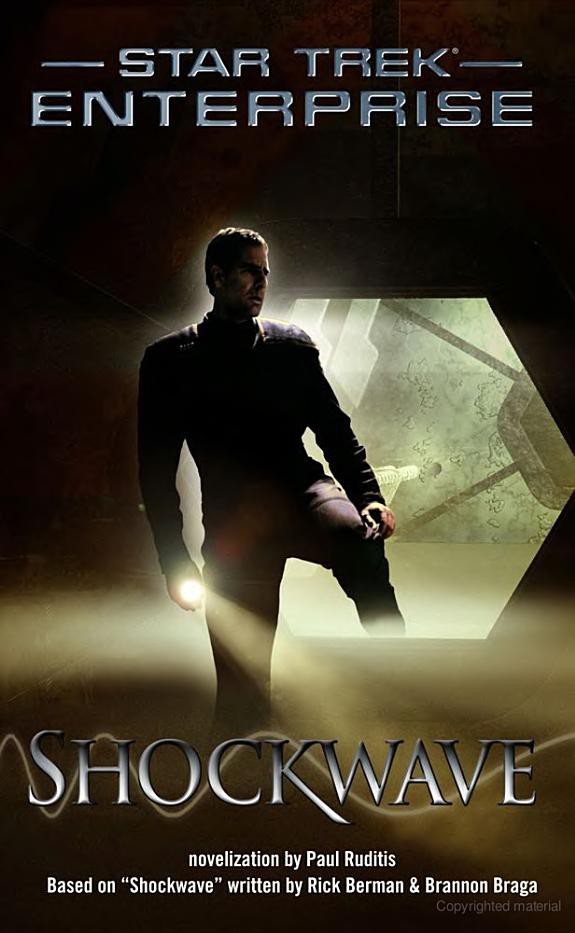
Novels


Comic Books
Compiling Data...
Games
- 2002: Star Trek Role Playing Game, "Player's Guide (Decipher: Roleplaying Game)
- 2002: Star Trek Role Playing Game, "Narrator's Guide (Decipher: Roleplaying Game)
- 2003: Star Trek Role Playing Game, "Starfleet Operations Manual (Decipher: Roleplaying Game)
- 2003: Star Trek Role Playing Game, "Starships (Decipher: Roleplaying Game)
- 2003: Star Trek Role Playing Game, "Aliens (Decipher: Roleplaying Game)
- 2003: Star Trek Role Playing Game, "Creatures (Decipher: Roleplaying Game)
- 2005: Star Trek: Encounters (Bethesda Softworks: Video Game)
- 2005: Star Trek: Legacy (Bethesda Softworks: Video Game)
- 2010: Star Trek Online (Cryptic Studios: Video Game)